We provide all kinds of How to Blue Mark My Facebook Page | Facebook Page Verification Guide service. Browse the packages mentioned here or contact our support for custom packages
Super Fast Delivery
Smooth, Standard and Flexible
Customizable Features
24/7h Support Center
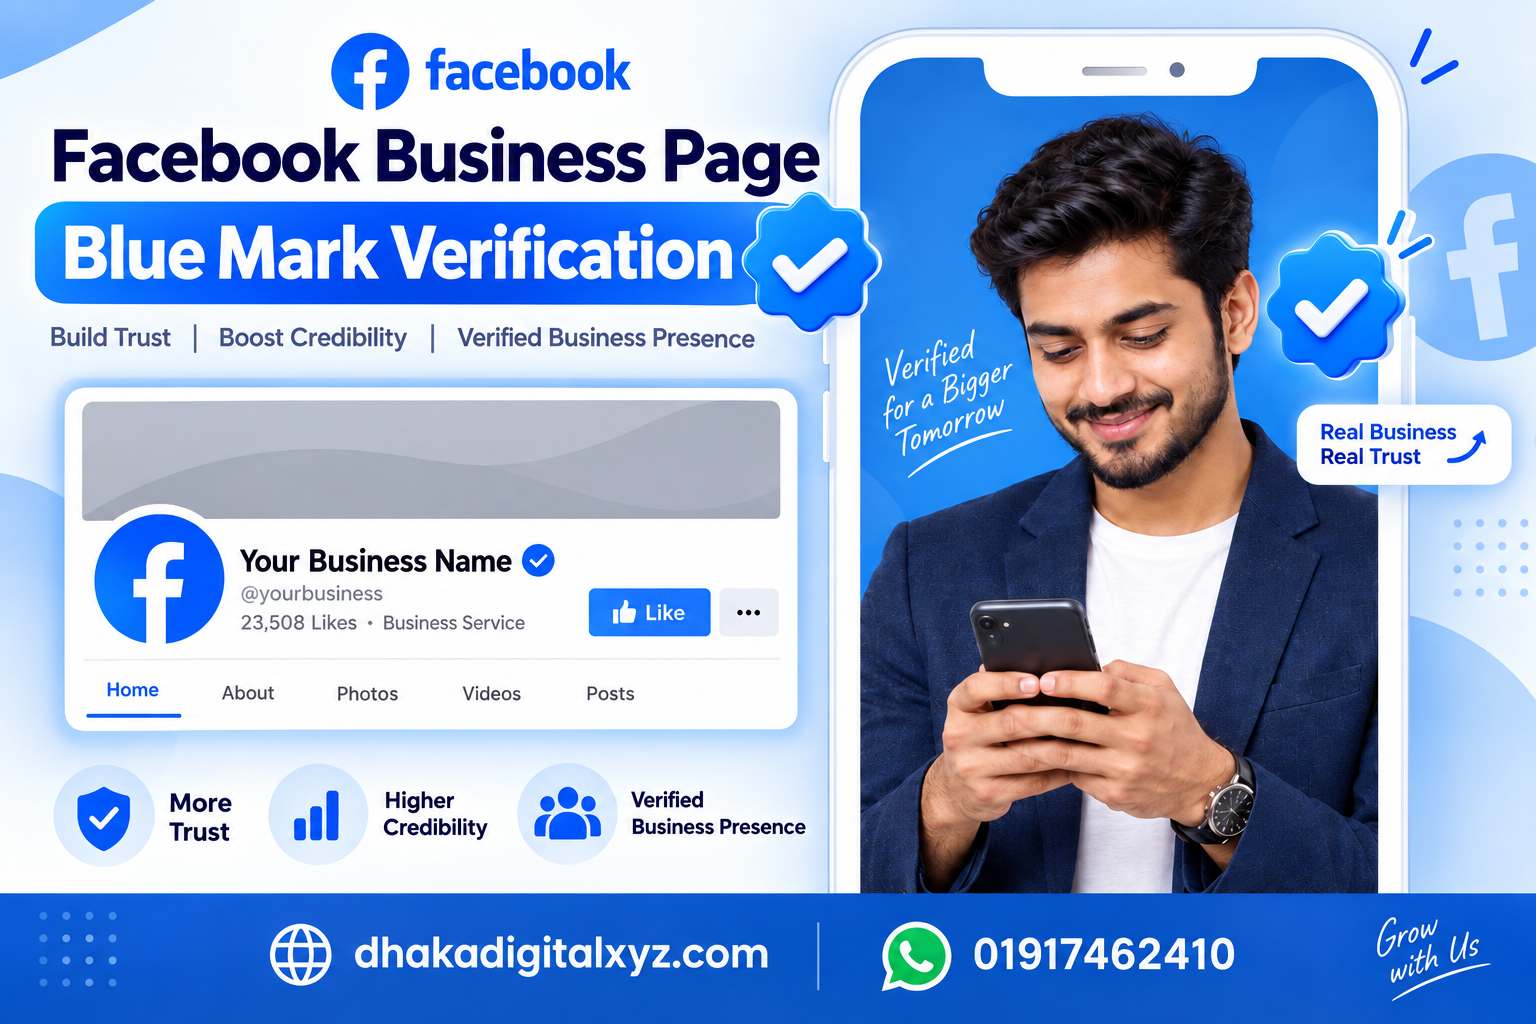
If you have a business Facebook Page, you may want to get the blue verification badge so customers can more easily identify your official business presence.
Today, Facebook verification can work differently depending on the type of account and the verification option available to you. Meta also offers Meta Verified for eligible accounts and businesses in supported markets. Therefore, the exact options, eligibility and pricing can change over time.
Chat on WhatsApp for Verification Support
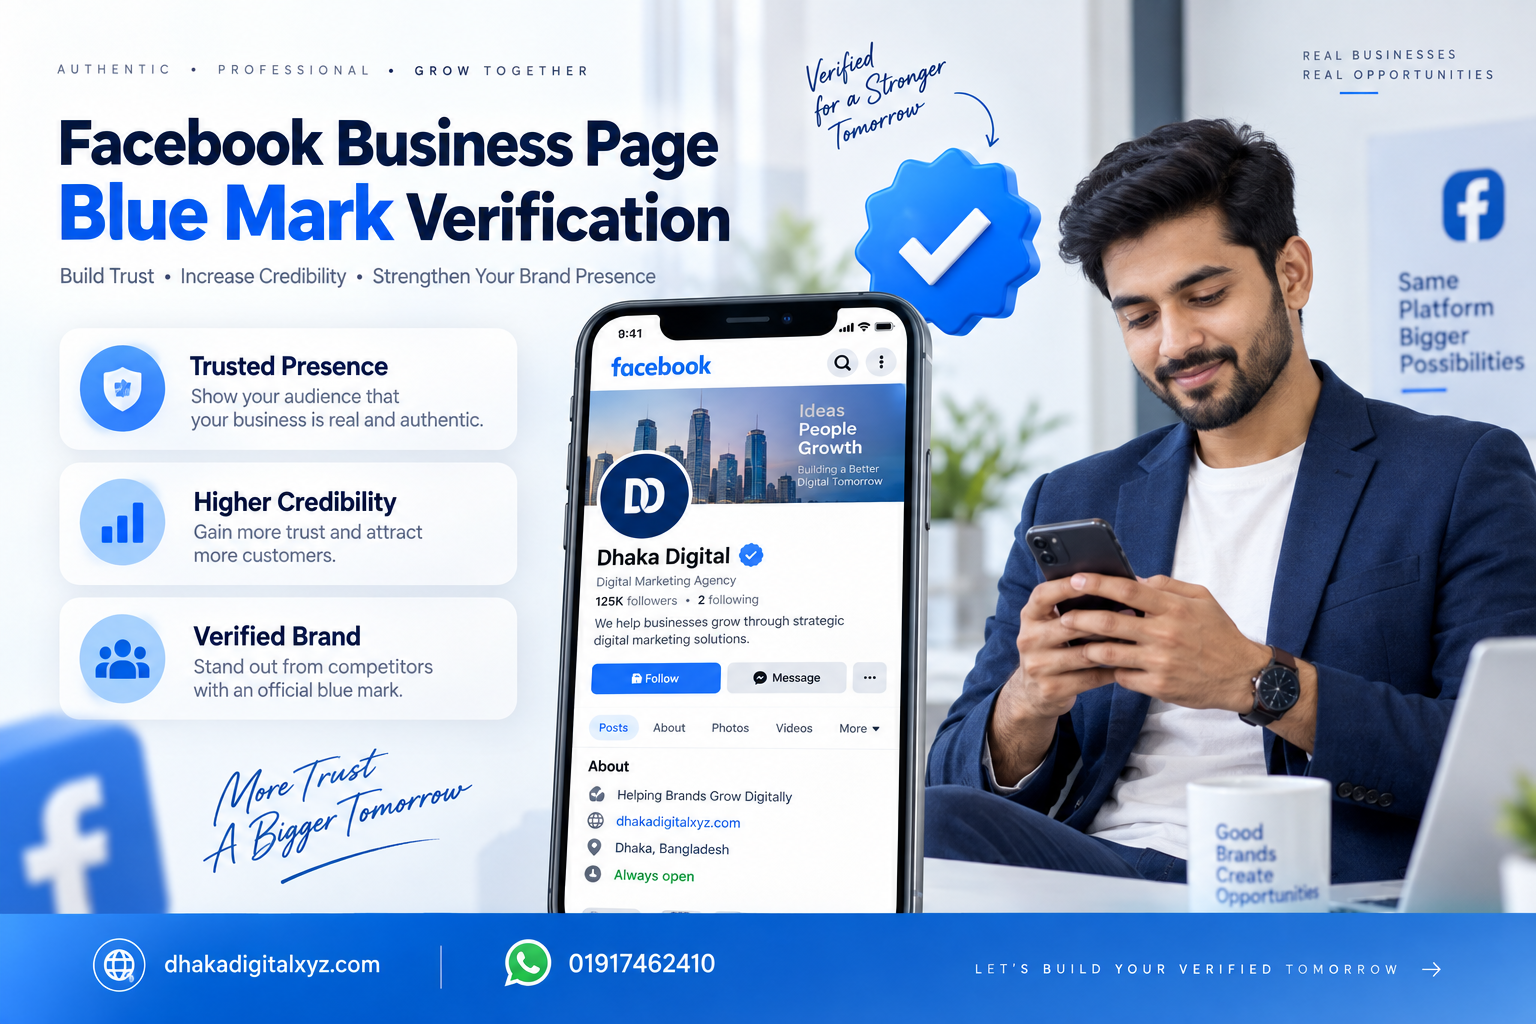
The blue badge is a verification indicator associated with an authentic presence on Meta's platforms.
For a business, the main purpose is to help establish that the Facebook presence represents the legitimate business or organization.
However, having a large number of followers does not automatically guarantee a blue verification badge.
If you want to verify your Facebook Page, start with these steps:
Before applying or checking verification eligibility, make sure your Page is properly set up.
Complete important information such as:
Your Facebook Page should clearly represent your actual business.
Your business name and information should be consistent across your online presence.
For example:
If your website says one business name while your Facebook Page uses a completely different identity, establishing authenticity can become more difficult.
Before working on verification, make sure the administrators of your Page maintain good account security.
Use strong passwords and enable available security features such as two-factor authentication.
Never give your Facebook password or login codes to someone claiming they can "activate" your blue badge.
Log in to your Facebook account and check the verification or Meta Verified options available to your Page/business.
Meta's available verification products and eligibility requirements can vary by account, location and product availability.
Therefore, don't rely on an old tutorial that shows a particular button or menu as permanently available.
If your account is eligible, Meta may ask you to complete certain verification requirements.
Depending on the verification route, this may involve confirming information about the business or account and completing identity/authenticity checks.
Follow the instructions shown directly inside Meta's official interface.
There is no guaranteed method for getting a Facebook blue badge.
Eligibility depends on the verification product and Meta's requirements. Simply having:
does not by itself guarantee verification.
A third-party agency also cannot guarantee that Meta will approve your Page.
Meta has introduced Meta Verified for businesses in supported markets. The availability, requirements and benefits can change, so businesses should check the current Meta offering for their specific account.
This is different from simply asking Facebook to "blue mark" a Page through an old verification form.
For that reason, if you're researching how to blue mark a Facebook Page in 2026, always check the current verification option available inside your Meta account rather than relying only on older Facebook verification tutorials.
Check Eligibility with Dhaka Digital XYZA professional Facebook Page should ideally have:
These steps do not guarantee a blue badge, but they help create a more professional and authentic business presence.
| Feature | Facebook Page Verification | Meta Verified |
|---|---|---|
| Blue verification indicator | May be available depending on eligibility/product | Available through Meta's verification offering |
| Business identity | Important | Important |
| Eligibility | Depends on Meta's requirements | Depends on Meta's current requirements |
| Guaranteed approval | No | No |
| Availability | Can vary | Can vary by market/account |
| Third-party guarantee | Not legitimate | Not legitimate |
The exact products and eligibility requirements can change, so businesses should check Meta's current options before applying.
Dhaka Digital XYZ provides Facebook Page setup, optimization, digital branding, Meta Business support and verification guidance in Bangladesh.
Our support can include:
We can help you prepare your Facebook Page and guide you through the official Meta verification process.
Important: Dhaka Digital XYZ cannot guarantee that Meta will approve a verification request. The final verification decision is made by Meta.
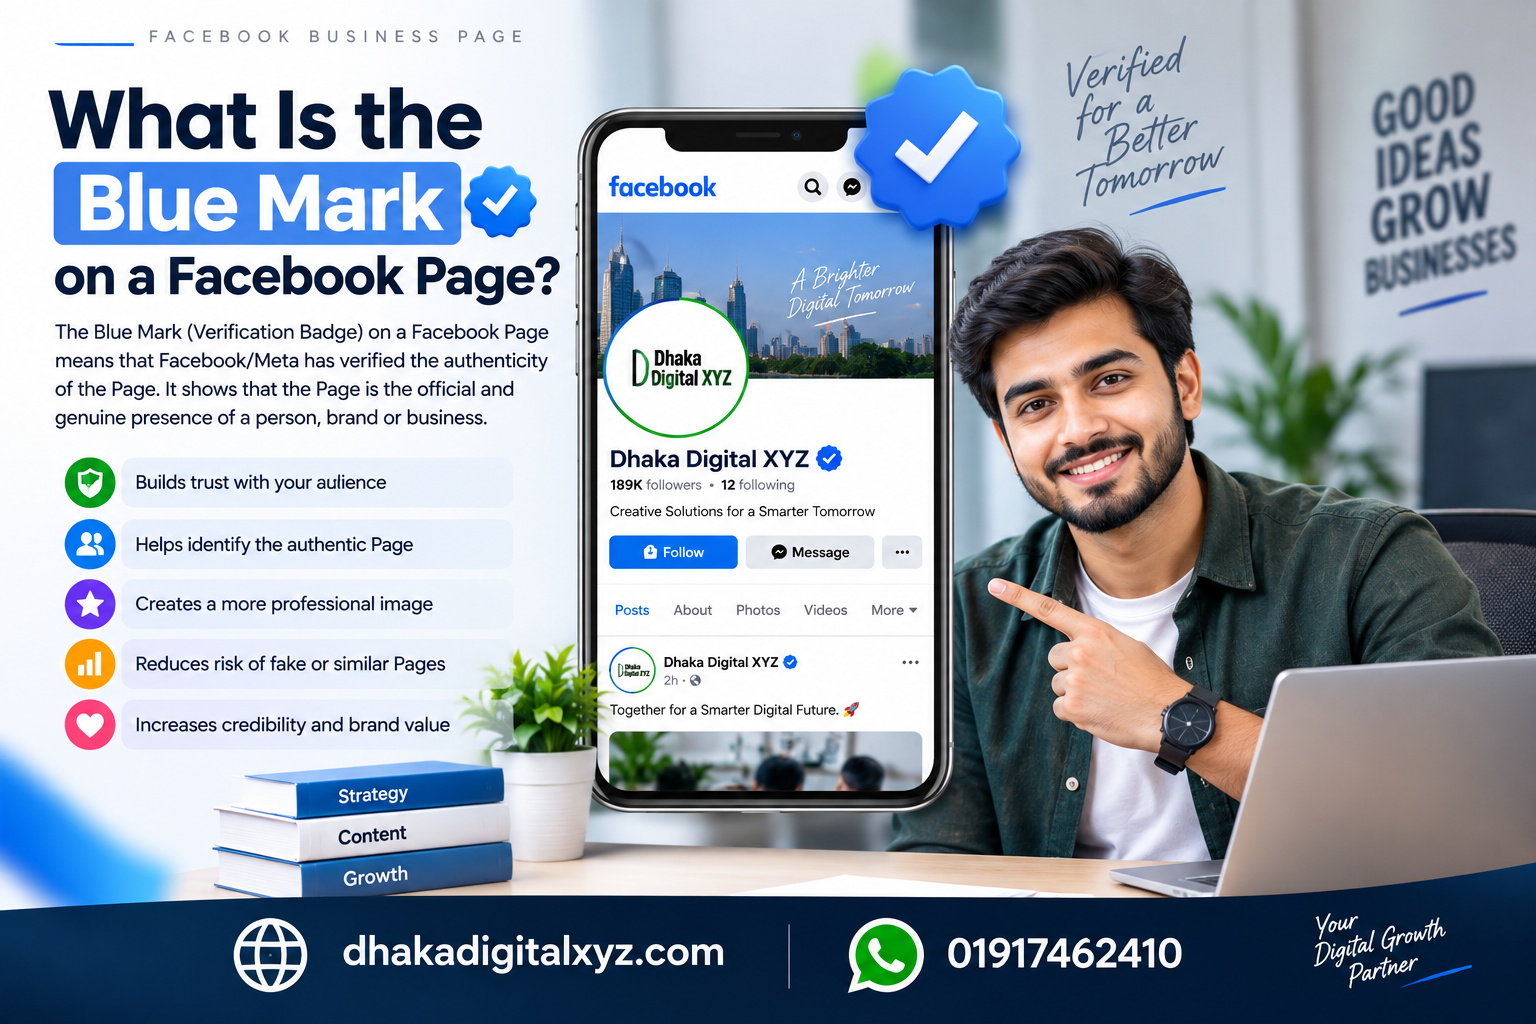
Check whether your Facebook Page or business is eligible for Meta's current verification offering. If an eligible verification option is available, follow Meta's instructions and complete the required business or identity verification process.
You should only use Meta's official verification process. Be careful with people who claim they can sell or guarantee a Facebook blue badge through unofficial methods.
There is no simple follower-count requirement that guarantees a blue badge. Eligibility depends on the verification product and Meta's requirements.
It depends on the available verification product and whether the Page/business meets the applicable eligibility requirements. A new Page is not automatically guaranteed verification.
No. An agency can provide setup and application guidance, but Meta makes the final verification decision.
Not necessarily. Meta's verification products and processes have evolved, and the available options can vary by account and market. Check the current options provided by Meta.
Looking for Facebook Page blue verification support in Bangladesh?
Dhaka Digital XYZ can help businesses prepare their Facebook Page, improve their business presence, configure Meta-related business assets, and understand the available verification process.
For more information,
If you want you can contact with us via call or facebook.